Adding new categories
There are two steps to adding a new category:
- Adding the category in Admin > Categories.
- Adding category items to the category in Items.
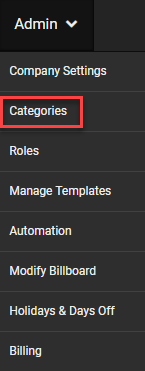
To view all of your categories, go to Admin > Categories.

To add a new category:
- Go to Admin > Categories.
- Click Add New Category.
- Enter information in the General Information section:
- Category Name: The name of the category.
- Category Name (Plural): The name of the category in plural form.
- Abbreviated Name: The abbreviated name of the category (up to 10 characters).
- Category Type: Designate what kind of values the category will hold.
- Use Items: The default value. This will let you choose category items for the category on time blocks.
- Numbers: This will let you assign a number (up to three decimal places) for the category on time blocks.
- Text: This will let you assign text for the category on time blocks.
- Date: This will let you assign a date for the category on time blocks.
- Time: This will let you assign a time for the category on time blocks.
- Date & Time: This will let you assign both a date and time for the category on time blocks.
- Parent Category: If the category has a parent category, select it here. For more information, see Understanding parenting categories.
- Select any options in the Options section:
- Disable Category: Select this checkbox to disable the category.
- Alphabetically sort category items: Select this checkbox if you want the category items for this category to automatically display in alphabetical order. Otherwise category items will be sorted based on the order you set in Items for the category.
- Rank: Check this box to allow ranking for each employee per item in this category.
- Payroll: Check this box to allow users to set a pay rate per item in this category.
- Use External ID: Check this box to allow users to input an external ID.
- Select any options in the Schedule Options section:
- Show in filter: Select this checkbox if you want the category to be included in the filter feature on the left of the Schedule tab.
- Add on-the-fly: Select this checkbox if you want users to be able to add category items in the Schedule (instead of going to Items to add them). If this is enabled, you can now manually enter category items in the category field on the Schedule at the same time you assign them to time blocks. See Add on-the-fly for more information.
- Multiple: Select this checkbox if you want users to be able to add multiple items for this category.
- Click Save.
Copyright © 2021 Program Works